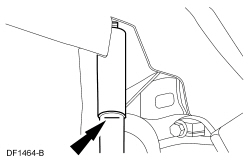
 WARNING: Do not apply heat or flame to the shock absorber or strut tube. The shock absorber and strut tube are gas pressurized and could explode if heated. Failure to follow this instruction may result in serious personal injury.
SECTION 204-02: Rear Suspension
| 2014 Mustang Workshop Manual
|
REMOVAL AND INSTALLATION
| Procedure revision date: 01/07/2013
|
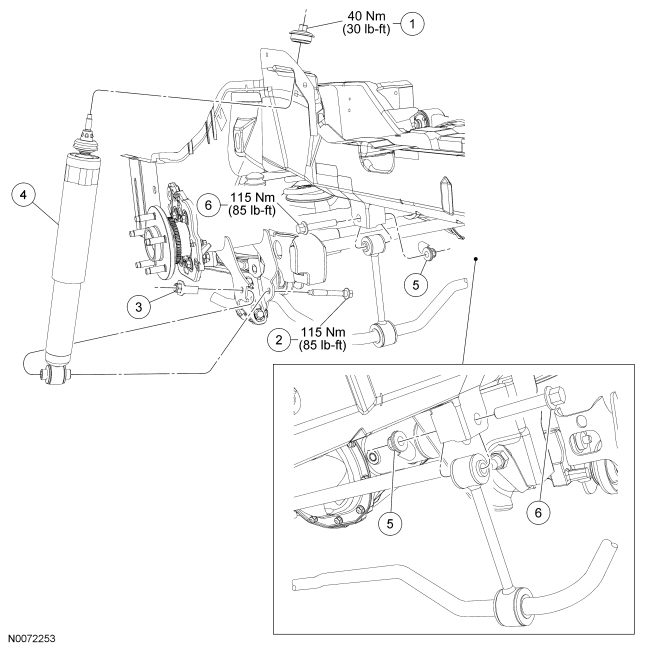
| Item | Part Number | Description |
|---|---|---|
| 1 | — | Shock absorber upper nut, washer and insulator (part of service kit 18008) |
| 2 | — | Shock absorber lower bolt (part of service kit 18008) |
| 3 | — | Shock absorber flagnut (part of service kit 18008) |
| 4 | — | Shock absorber (part of service kit 18008) |
| 5 | W712385 | Stabilizer bar link nuts (2 required) |
| 6 | W708737 | Stabilizer bar link bolts (2 required) |
Removal and Installation
WARNING: Do not apply heat or flame to the shock absorber or strut tube. The shock absorber and strut tube are gas pressurized and could explode if heated. Failure to follow this instruction may result in serious personal injury.
WARNING: Keep all body parts clear of shock absorbers or strut rods. Shock absorbers or struts can extend unassisted. Failure to follow this instruction may result in serious personal injury.
NOTICE: Suspension fasteners are critical parts because they affect performance of vital components and systems and their failure may result in major service expense. New parts must be installed with the same part numbers or equivalent part, if replacement is necessary. Do not use a replacement part of lesser quality or substitute design. Torque values must be used as specified during reassembly to make sure of correct retention of these parts.
NOTICE: When using a hoist that lifts the vehicle by the frame, install new shock absorbers one at a time. If the rear axle is allowed to hang unsupported by the control arms, damage to the control arm bushings may result. A drive-on type hoist is the preferred hoist to use for this procedure.
NOTICE: Do not support the rear axle at the differential housing or damage to the housing may occur.
NOTICE: Do not allow the axle assembly to hang supported only by the upper control arm or lower control arms. This could damage the control arm bushings.
Using 2 suitable jackstands, support the rear axle.NOTICE: Tighten the shock absorber lower bolt while the suspension is at curb height or bushing damage and incorrect clamp load may occur.
To install, reverse the removal procedure.