211-023 (T74P-3044-A1)
SECTION 204-02: Rear Suspension
| 2014 Mustang Workshop Manual
|
REMOVAL AND INSTALLATION
| Procedure revision date: 01/07/2013
|
| C-Frame and Clamp Assembly
211-023 (T74P-3044-A1) |
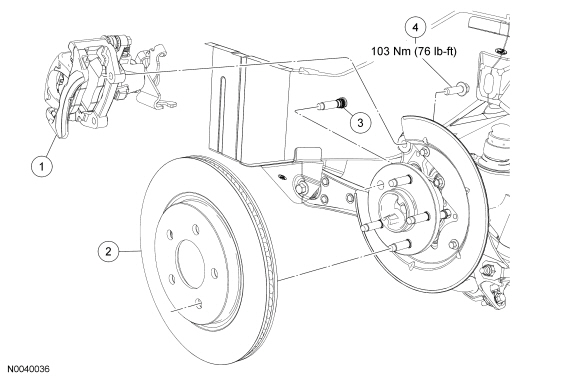
| Item | Part Number | Description |
|---|---|---|
| 1 | 2553 LH/ 2552 RH | Brake caliper and anchor plate assembly |
| 2 | 2C026 | Brake disc |
| 3 | 1107 | Wheel stud |
| 4 | W704797 | Anchor plate bolt (2 required) |
Removal
NOTICE: Suspension fasteners are critical parts because they affect performance of vital components and systems and their failure may result in major service expense. New parts must be installed with the same part numbers or equivalent part, if replacement is necessary. Do not use a replacement part of lesser quality or substitute design. Torque values must be used as specified during reassembly to make sure of correct retention of these parts.
NOTICE: Care must be used when servicing rear brake components without disconnecting the parking brake cable from the brake caliper lever. Carefully position the caliper aside using a suitable support or damage to the parking brake cable end fittings may occur.
NOTICE: Do not allow the caliper and anchor plate assembly to hang from the brake hose or damage to the hose may occur.
Remove the bolts and position the caliper and anchor plate assembly aside.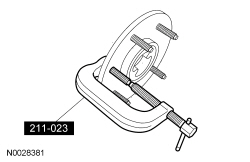
Installation
NOTICE: Do not use air tools to install the wheel stud. The serrations in the hub flange may be stripped.