
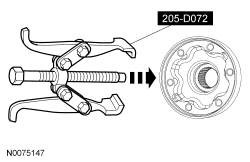
205-D072 (D97L-4221-A) or equivalent

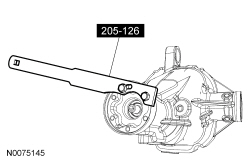
205-126 (T78P-4851-A)

205-002 (TOOL-4858-E)

205-208 (T83T-4676-A)
SECTION 205-02: Rear Drive Axle/Differential — Ford 8.8-Inch Ring Gear
| 2014 Mustang Workshop Manual
|
IN-VEHICLE REPAIR
| Procedure revision date: 01/07/2013
|
| 2 Jaw Puller
205-D072 (D97L-4221-A) or equivalent |
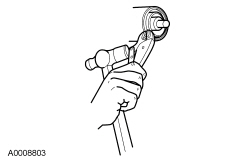
| Holding Fixture, Drive Pinion Flange
205-126 (T78P-4851-A) |
| Installer, Drive Pinion Flange
205-002 (TOOL-4858-E) |
| Installer, Drive Pinion Oil Seal
205-208 (T83T-4676-A) |
| Item | Specification |
|---|---|
| Motorcraft® SAE 75W-140 Synthetic Rear Axle Lubricant
XY-75W140-QL (US); CXY-75W140-1L (Canada) | WSL-M2C192-A and GL-5 |
| Motorcraft® SAE 75W-85 Premium Synthetic Hypoid Gear Lubricant
XY-75W85-QL | WSS-M2C942-A |
| Premium Long-Life Grease
XG-1-C or XG-1-K (US); CXG-1-C (Canada) | ESA-M1C75-B |
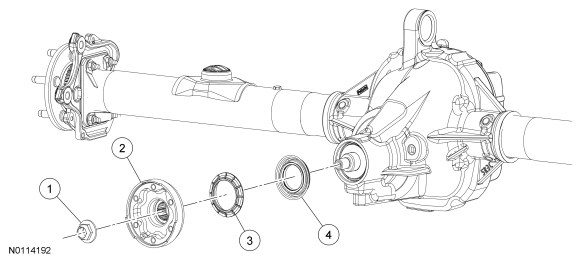
| Item | Part Number | Description |
|---|---|---|
| 1 | 4320 | Pinion nut |
| 2 | 4851 | Pinion flange |
| 3 | 4859 | Deflector |
| 4 | 4676 | Drive pinion seal |
Removal
NOTICE: This operation disturbs the pinion bearing preload. Install a new pinion nut with the same color as the original if not replacing the collapsible spacer. If a new collapsible spacer is installed, install the pinion nut in the kit or damage to the component may occur.
NOTE: The disc brake calipers must be removed to prevent brake drag during drive pinion bearing preload adjustment.
Remove the rear brake disc. Refer to Section 206-04 .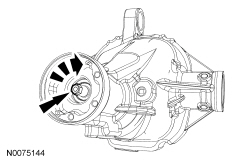
Installation
NOTE: If the new drive pinion seal becomes misaligned during installation, remove the drive pinion seal and install a new drive pinion seal.
Using the Drive Pinion Oil Seal Installer, install a new drive pinion seal.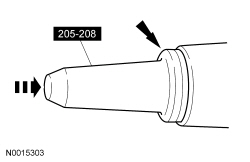
NOTE: Disregard the scribe marks if a new pinion flange is being installed.
Align the pinion flange with the drive pinion shaft.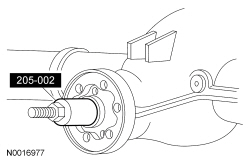
NOTE: Under no circumstances is the pinion nut to be backed off to reduce drive pinion bearing preload. If reduced drive pinion bearing preload is required, a new drive pinion collapsible spacer and pinion nut kit must be installed.
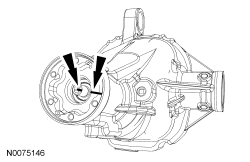
NOTE: Remove the Drive Pinion Flange Holding Fixture while taking drive pinion bearing preload readings with the Nm (lb-in) torque wrench.
Using the Drive Pinion Flange Holding Fixture to hold the pinion flange, tighten the pinion nut.