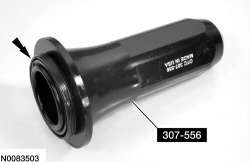
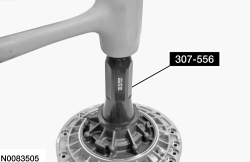
307-556
SECTION 307-01: Automatic Transaxle/Transmission — 6R80
| 2014 Mustang Workshop Manual
|
DISASSEMBLY AND ASSEMBLY OF SUBASSEMBLIES
| Procedure revision date: 01/07/2013
|
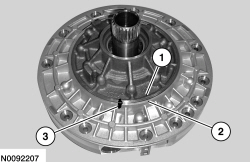
| Installer, Fluid Pump Seal
307-556 |
| Item | Specification |
|---|---|
| Motorcraft® MERCON® LV Automatic Transmission Fluid
XT-10-QLVC (US); CXT-10-LV12 (Canada) | MERCON® LV |

| Item | Part Number | Description |
|---|---|---|
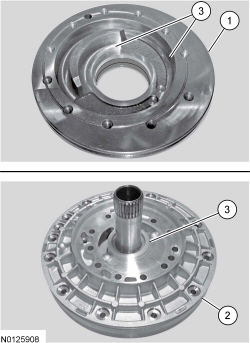
| 1 | 7A248 | Front pump oil seal |
| 2 | — | Pump body (part of 7A103) |
| 3 | 7A248C | Pump body seal |
| 4 | 7A103 | Pump plate assembly |
| 5 | 7A248A | Pump plate assembly seal |
| 6 | W707871-S300 | Pump plate assembly-to-front pump body bolt (11 required) |
| 7 | 7D019 | Clutch support fluid seal |
| 8 | 7L323 | Front pump support seal |
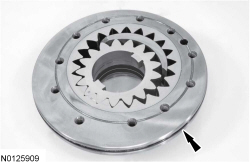
Disassembly

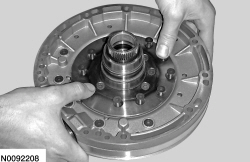
Assembly
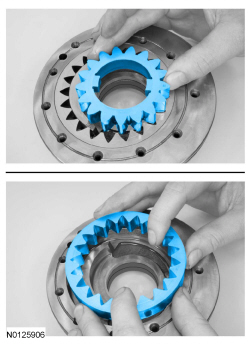
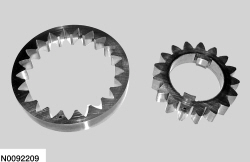
NOTE: Prior to installation, lightly lubricate the pump gears with clean automatic transmission fluid.
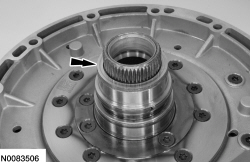
Install the pump gears with the dot facing the pump plate assembly.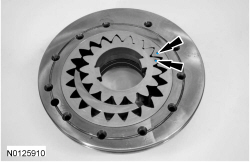
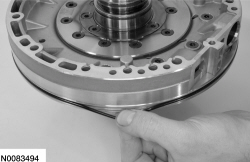
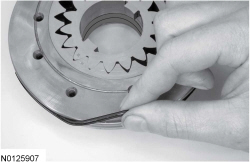
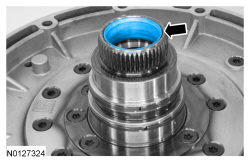
NOTICE: Make sure that the seal ends of each seal ring are hooked together or fluid leakage can occur.
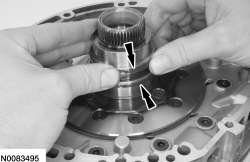
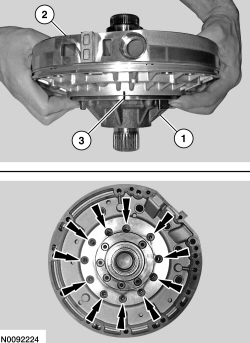
Install the 2 front pump seal rings onto the stator support. Make sure the seals are fully seated in the stator support seal grooves and the seal ends are oriented 180 degrees apart.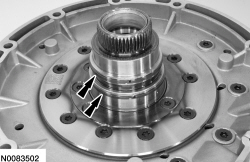
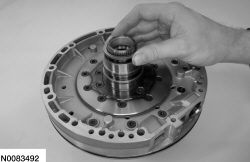
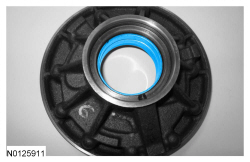
NOTE: Lightly lubricate the thrust washer with petroleum jelly to hold it in place during assembly.
Install the pump thrust washer.