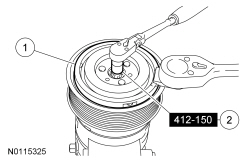
412-150

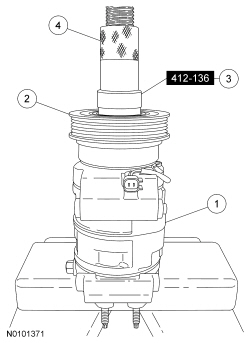
412-137

412-067 (T89P-19623-FH)

412-001 (T71P-19703-B)
SECTION 412-01: Climate Control
| 2014 Mustang Workshop Manual
|
REMOVAL AND INSTALLATION
| Procedure revision date: 01/07/2013
|
| Tool, A/C Clutch Holding
412-150 |
| Protector, A/C Compressor Shaft
412-137 |
| Remover, A/C Compressor Field Coil
412-067 (T89P-19623-FH) |
| Remover, Compressor Pulley
412-001 (T71P-19703-B) |
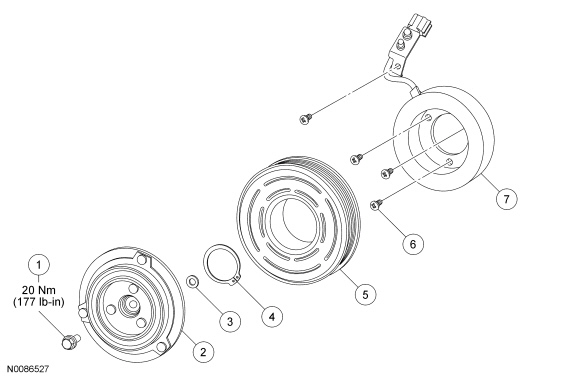
| Item | Part Number | Description |
|---|---|---|
| 1 | — | A/C clutch disc and hub bolt (part of 19D784) |
| 2 | — | A/C clutch disc and hub (part of 19D784) |
| 3 | — | A/C clutch disc and hub spacer (part of 19D784) |
| 4 | — | A/C compressor pulley snap ring (part of 19D784) |
| 5 | — | A/C compressor pulley (part of 19D784) |
| 6 | — | A/C clutch field coil screw (4 required) (part of 19D784) |
| 7 | — | A/C clutch field coil (part of 19D784) |
Removal
NOTICE: Do not use air tools. Damage to the Air Conditioning (A/C) clutch field coil or A/C compressor may result.
Remove the A/C compressor pulley.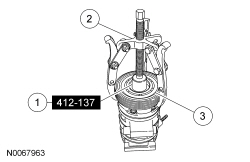
Installation
NOTE: A new A/C compressor may come equipped with a clutch and pulley. If not, the A/C clutch components should be reused unless obvious signs of damage are found. If excessive grooving is found, a new A/C clutch disc and hub and A/C compressor pulley must be installed together. Otherwise, each component can be installed individually where needed.
NOTE: The Air Conditioning (A/C) compressor must be positioned on the press so that only the flat part of the A/C compressor housing is contacting the base with the A/C compressor shaft aligned with the center of the press shaft. If the A/C compressor is not installed correctly on the press, the A/C compressor and/or A/C compressor pulley will be damaged.
Install the A/C compressor pulley.