SECTION 501-05: Interior Trim and Ornamentation
| 2014 Mustang Workshop Manual
|
REMOVAL AND INSTALLATION
| Procedure revision date: 01/07/2013
|
| Alcohol swab (Commercially available) |
| Self adhesive Velcro® (25 mm (1 in) x 76 mm (3 in) strip) (Commercially available) |
| Item | Specification |
|---|---|
| Trim and Weatherstrip Adhesive
TA-14-A | — |
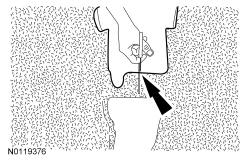
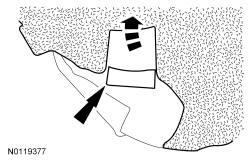
Removal
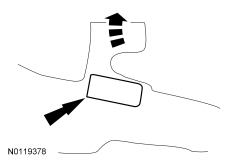
Installation